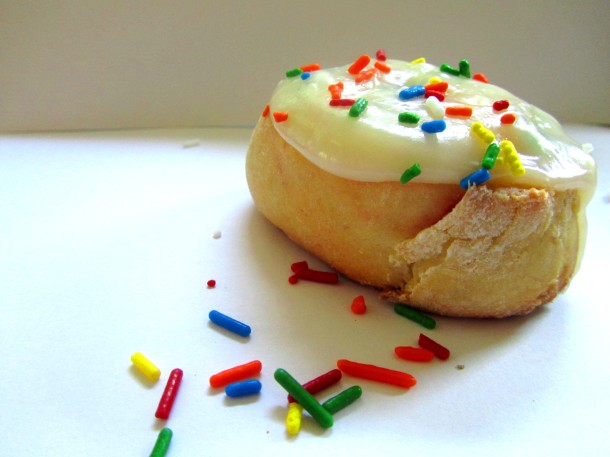
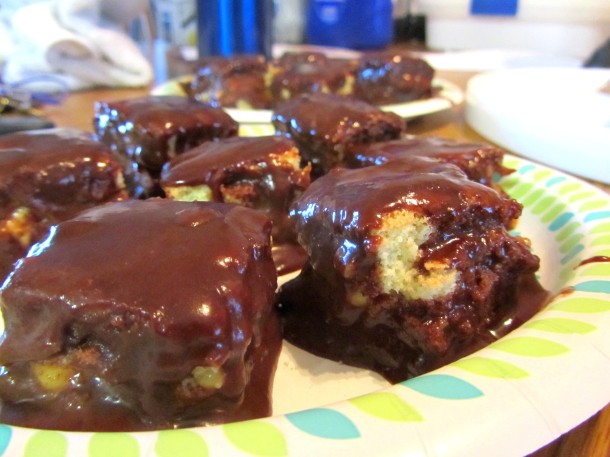
Funfetti Cream Cheese Rolls

Posted on

If you couldn’t tell already, I’m clearly obsessed with Funfetti Cake Mix. I’m just convinced that it makes everything taste ten times better when you add it to your batter! This recipe was a result of my insomnia but despite being over tired, I think it was one of my best ideas yet! Enjoy!

Funfetti Rolls

Adapted from Mel’s Kitchen Cafe

Rolls

  • ½ cup warm water
  • 2 tablespoons active dry yeast
  • 2 tablespoons sugar
  • 1 cup Funfetti Cake Mix
  • ½ cup butter, melted
  • 2 eggs
  • 1 teaspoon salt
  • 5 cups flour
  • 1/2 cup water (more may be needed)

Filling

  • 1/2 cup unsalted butter, room temperature
  • 8 ounces cream cheese, room temperature
  • 1/4 cup sugar
  • 2 (3.4 ounce) packages instant vanilla pudding

Cream Cheese Glaze

  • 8 ounces cream cheese, room temperature
  • 2 cups confectioners’ sugar
  • 3 tablespoons milk
  1. In a small bowl combine water, yeast and sugar. Stir until dissolved. Set aside
  2. In large bowl, mix cake mix, butter, eggs and salt. Mix well. Then add yeast mixture. Blend
  3. Gradually add flour; knead until smooth. Do not overflour the dough! It should be very soft but not sticky. Place in a greased bowl. Cover and let rise until doubled
  4. Roll out on floured board to 34 X 21 inches in size. Take 1/2 cup soft butter and spread over surface. In bowl, mix the butter, cream cheese, and sugar until light and fluffy. Beat in the vanilla pudding mix until incorporated. Spread evenly over dough. Roll up very tightly
  5. With knife put a notch every 1 1/2 inches. Cut with thread or serrated knife. Place on lightly greased cookie sheet 1 inch apart. Cover and let rise until double again
  6. Bake at 350 degrees for 15-20 minutes. Remove when they start to turn golden (don’t overbake). Makes about 24 very large rolls
  7. Beat cream cheese and confectioners’ sugar (1 cup at a time) until smooth. Mix in milk until desired consistency is reached. Spread over rolls

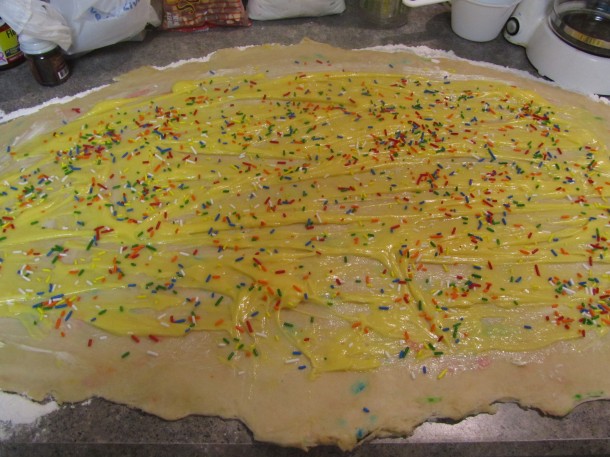
Honestly, rolling out this much dough was hard work! I didn’t even have enough counter space!


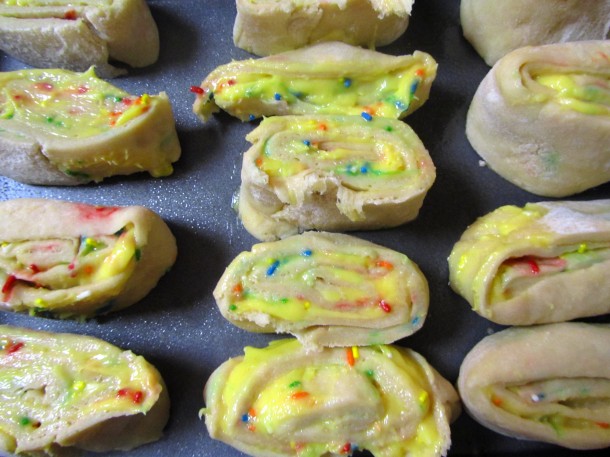
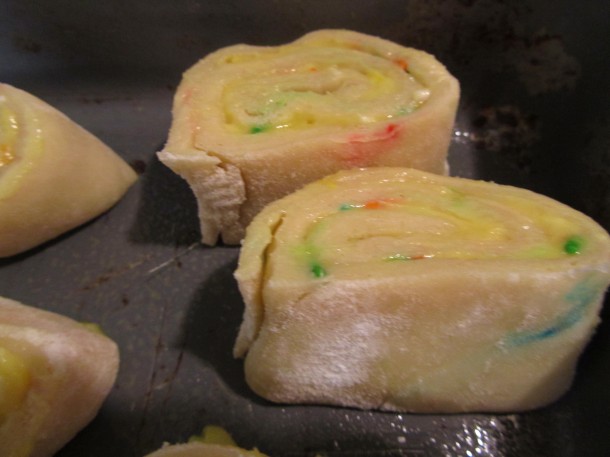
Pre-baked


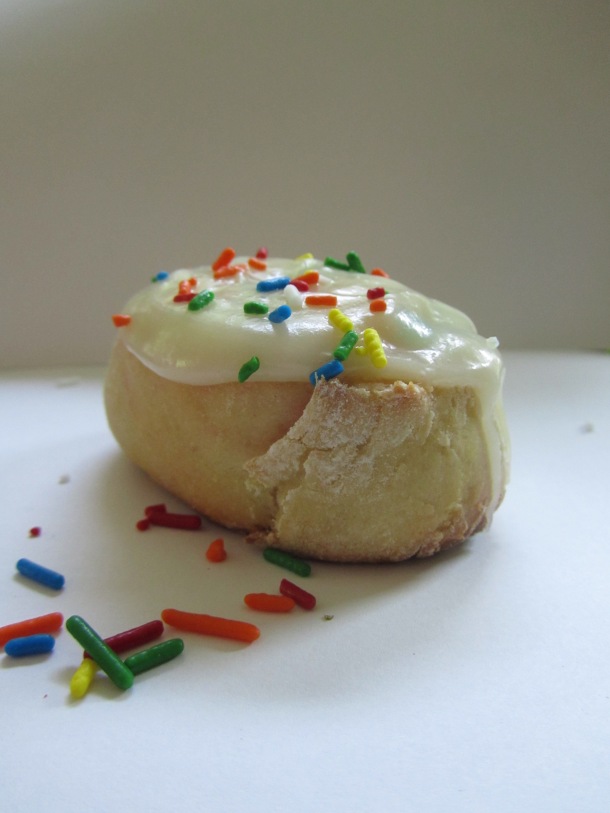
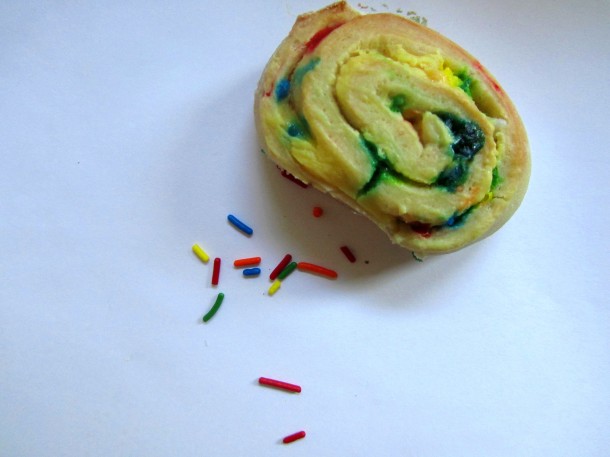
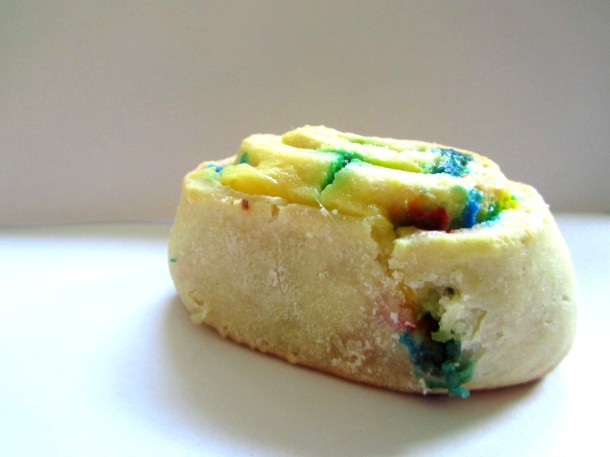
Post-baked

Strawberries & Cream and Almond Joy Cupcakes

Posted on

Oh blog, how I’ve missed you. I can’t even recall the last time I posted an actual recipe but don’t worry- I didn’t forget how to bake! And I certainly haven’t stopped. I guess the only thing I can do is try to catch you all up as fast as possible. There really isn’t anything new going on with me other than being home for the summer which is a fantastic feeling. Of course I would manage to leave all of my underwear, socks, etc. in the dresser in my dorm, however. I finished with a 3.6 and got an A on my sociology swine flu research paper though! Hm, what else. I’m back to work at Cosi which is good because I really need to save up this summer. And there’s a bakery about 5 minutes away from Roger Williams in downtown Bristol and I’m praying I can get a job there for the school year.

I just got back from my trip to Rancho Cucamonga, California for my cousin Kannan’s golf tournament and I had a great time…minus the double sunburn. The first night my uncle made his homemade pizza which of course was phenomenal. Fresh mozzarella, basil, sun-dried tomatoes, and artichoke hearts…with a homemade pizza sauce, of course. We also managed to make our way to Suite 106 Cupcakery which was featured on an episode of Cupcake Wars and Pink’s, where Bobby Flay did a hot dog throw down. Unfortunately I didn’t take any pictures because I didn’t think I would be able to update my blog for who know’s how long but I can say their cupcakes were pretty good. I was disappointed in the carrot cupcake because it seemed rather dry but their turtle cheesecake and dulce de leche were to die for. Needless to say, it really made me want to open my own bakery. It! Was! Torture!

Anyways, enough about what I’ve been up to and on to the recipe. Today was kind of a “clean out the pantry” day, if you will. I realized there’s no longer any space left on my shelves and I’ve been using the dining room table as my second pantry so it was time to get rid of some stuff that I’ve been holding on to for too long, stuff that I knew I would be able to use for something but I wasn’t sure what at the time I bought it, etc. So this is what came of it. Just as a side note, I threw a lot of ingredients into the strawberry buttercream and not all of them were obviously necessary, they just enhanced the strawberry flavor.
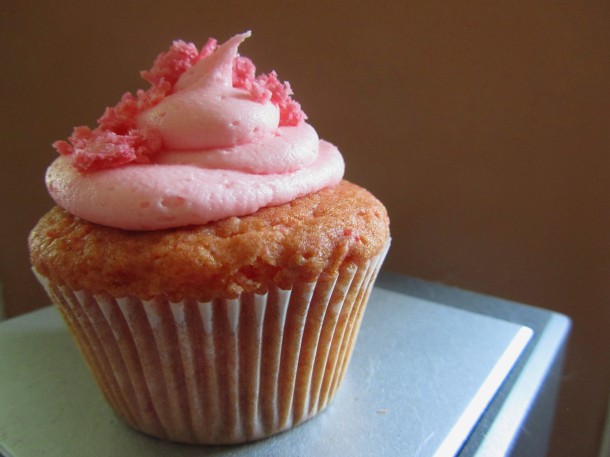
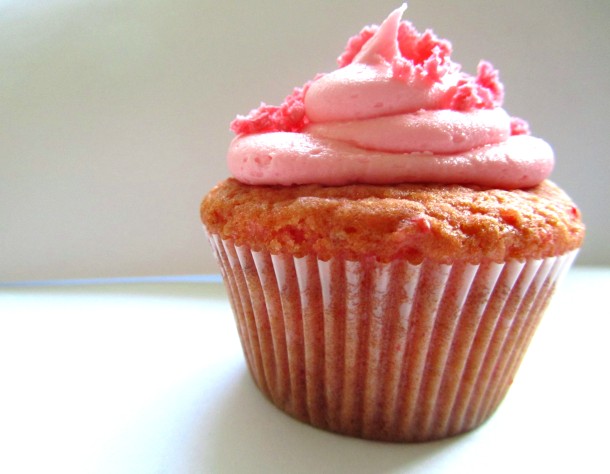
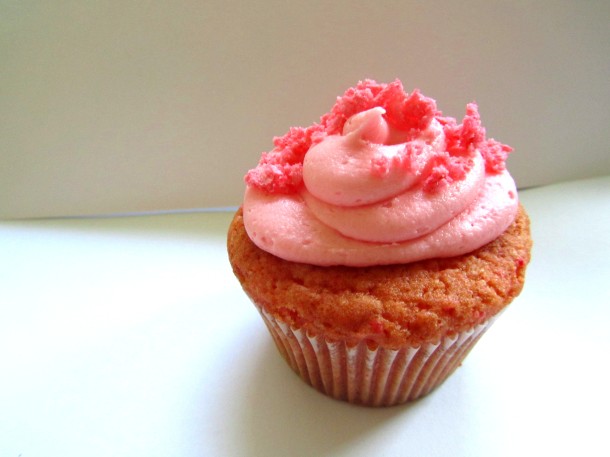
Strawberries & Cream Cupcakes

  • 1 box Pillsbury Strawberry Cake mix
  • 1/3 cup vegetable oil
  • 1 cup heavy cream
  • 3 large eggs
  • Strawberry Cream wafers, finely chopped
  1. Preheat the oven to 350° F
  2. Mix the cake mix, vegetable oil, heavy cream, and eggs together until smooth, about 2 minutes
  3. Mix in the finely chopped wafers
  4. Bake for 22 minutes or until slightly browned on top

Strawberry Cream Buttercream

  • 1 cup butter, softened
  • 1 cup strawberry fluff
  • 1/4 cup strawberry mousse mix
  • 4 cups confectioners’ sugar
  • Heavy cream, enough to reach desired consistency
  • Strawberry Cream wafers, finely chopped
  1. Beat the butter and fluff on high speed until light and fluffy
  2. Beat in the strawberry mousse mix
  3. Beat in the confectioners’ sugar, 1 cup at a time
  4. Mix in heavy cream until desired consistency is reached
  5. Garnish with chopped strawberry cream wafers
 

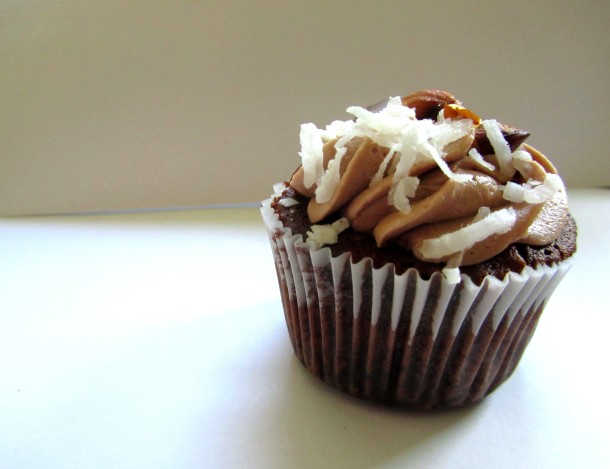
Almond Joy Cupcake

  • 1 box Duncan Hines Butter Fudge Cake mix
  • 1 stick butter, softened
  • 3 large eggs
  • 3/4 cup water
  • 1 cup sweetened, flaked coconut
  • Mini almond joy bars, chopped
  1. Preheat the oven to 350° F
  2. Beat cake mix, butter, eggs, and water on low speed for 30 seconds. Turn up to medium speed and beat for 4 minutes, until smooth
  3. Mix in the chopped almond joy bars and the coconut
  4. Bake for 20 minutes

Chocolate Buttercream

  • 2 sticks butter, softened
  • 1/4 cup Hershey’s Chocolate Syrup
  • 4 cups confectioners’ sugar
  • Heavy cream, enough to reach desired consistency
  • Sweetened, flaked coconut
  • Almonds, chopped
  • Mini almond joy bars, cut in half
  1. Beat butter on high speed until light and fluffy
  2. Beat in the confectioners’ sugar 1 cup at a time, alternating with some of the Hershey’s Syrup (if desired)
  3. Beat in heavy cream until desired consistency is reached
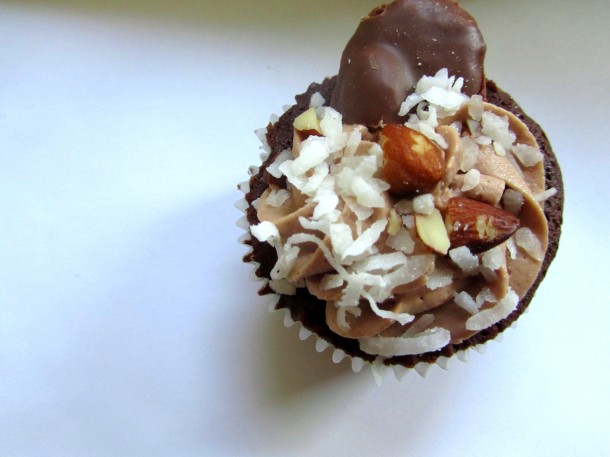
  4. Garnish with half an almond joy, coconut, and almonds
A Sincere Apology

Posted on

I have been getting an endless amount of sweet comments that I’m completely overwhelmed by and I don’t even know how to say thank you for all the support! I started this blog almost a year ago now and I just cannot even believe how many people have taken the time to look through my recipes. It means so much to me and I just want to say thank you, thank you, thank you! However, I do have a bit of disappointing news. My computer currently has a virus and as of right now, it is the only way I am able to upload pictures to my blog. That is why I haven’t posted anything new in the longest time and believe me, it’s killing me. I’m officially a week away from the end of my first year at Roger Williams and as soon as all the stress of final papers/exams are over, I promise I will get my computer fixed and bake as much as I can so I can share all of my recipes with you. Until then, wish me luck!

Best Friend’s Birthday Cupcakes

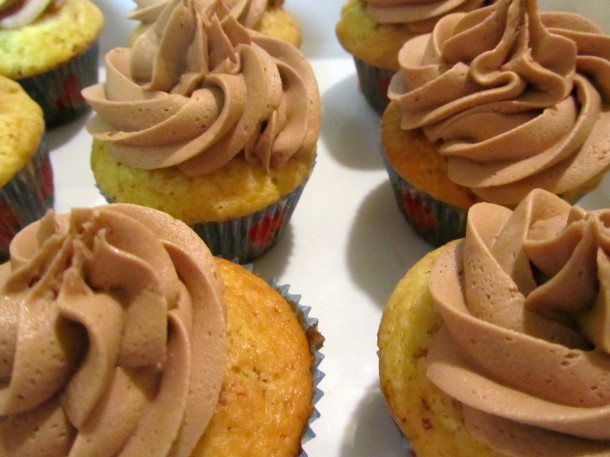
Saturday was my best friend’s birthday and it’s terrible to say but we haven’t been able to see each other for over a year, which is probably the longest we’ve gone since she moved to Georgia over 5 years ago. She specifically requested that the cupcakes not be chocolate, so I decided to get a little creative. If I know anything about my best friend at all, it’s that she loves Lindt chocolate, which is what inspired me to make these cupcakes. They’re currently making their way to southern Georgia right now and it breaks my heart to know these cupcakes won’t look anything like they do in my pictures, but I’m just happy she can enjoy them! Happy birthday Melissa!!!!!

Lindt Stracciatella Chocolate Cupcakes

Cupcakes

Adapted fromWilton

  • 3 cups cake flour sifted
  • 2 1/2 teaspoons baking powder
  • 1/2 teaspoon salt
  • 2/3 cup butter or margarine softened
  • 1 3/4 cups granulated sugar
  • 2 eggs
  • 1 1/2 teaspoons vanilla extract
  • 1 1/4 cups milk
  • 8 ounces white chocolate, melted
  • 6 ounces milk chocolate bar, grated
  1. Preheat oven to 350°F. Line muffin pan with baking cups
  2. Sift together flour, baking powder and salt; set aside
  3. In large bowl, cream butter and sugar with electric mixer until light and fluffy
  4. Add eggs and vanilla; mix well
  5. Add flour mixture alternately with milk, beating well after each addition. Continue beating one minute
  6. Melt white chocolate in microwave on medium power for 1 minute. Stir, then microwave for another 30 seconds. Stir melted chocolate into the batter
  7. Grate chocolate bar over the batter and stir in the batter
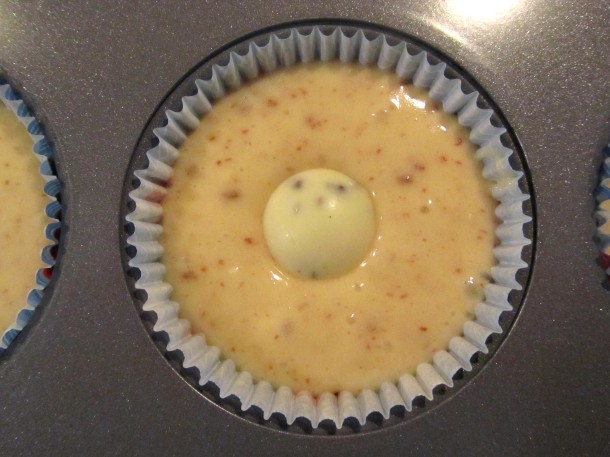
  8. Pour into prepared cups and top off with Lindt chocolate ball. Bake 18-20 minutes or until toothpick inserted into center of cupcake comes out clean
  9. Cool 10 minutes. Turn out onto cooling rack; cool completely

Chocolate Buttercream Frosting

  • 1 cup butter, softened
  • 3-4 cups confectioners’ sugar
  • 1 tablespoon cocoa powder
  • 1/4 cup Hershey’s chocolate syrup
  1. Beat butter on high speed until light and fluffy
  2. Add confectioners’ sugar, 1 cup at a time until desired consistency is reached
  3. Beat in cocoa powder and syrup
  4. Place into piping bag and frost cupcakes

Pre-baked

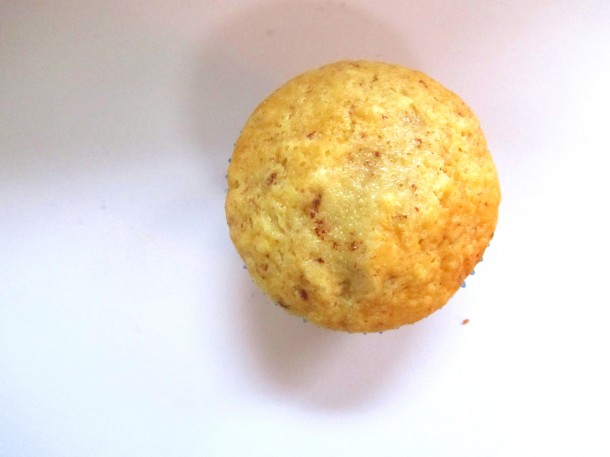
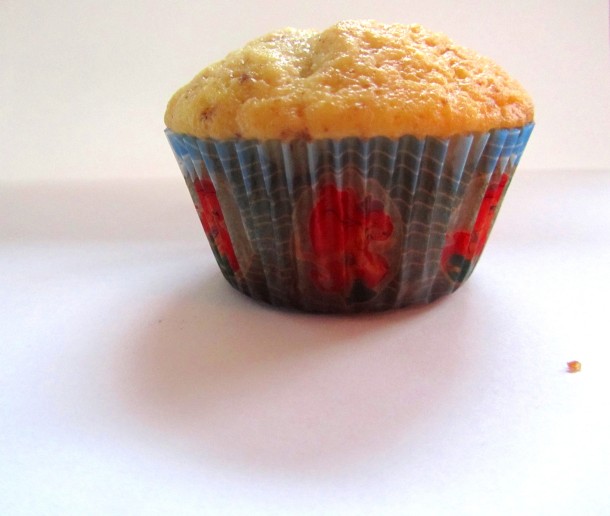
Post-baked. Yes, those are Ariel paper liners. She is Melissa’s favorite Disney Princess…I couldn’t resist 😉
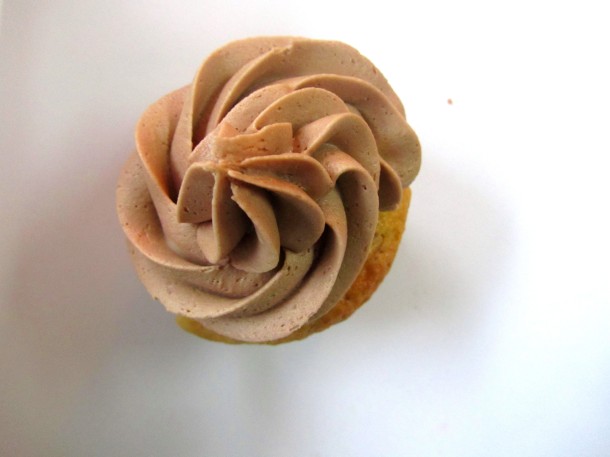
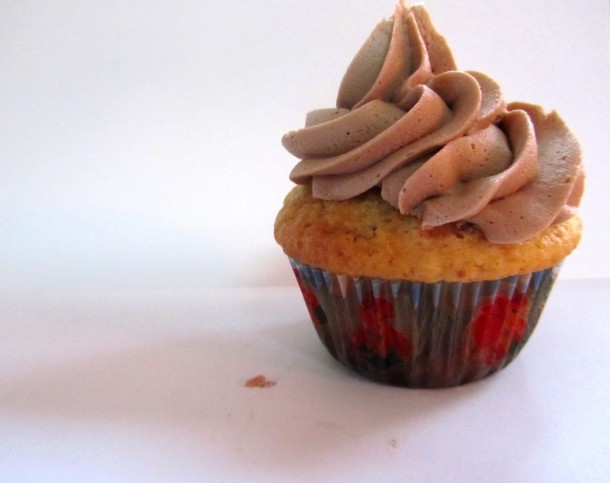
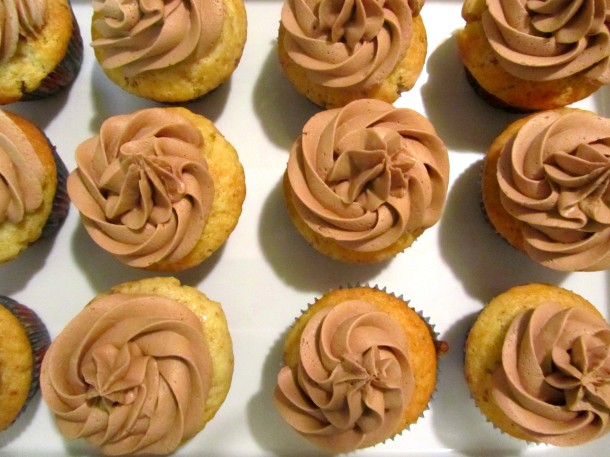
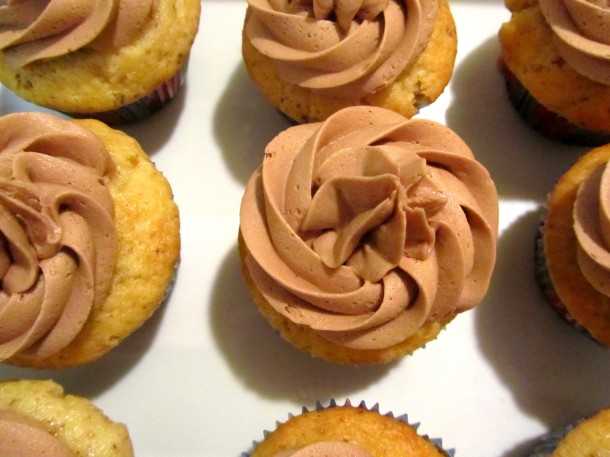
I’d have to say this is definitely my best frosting work yet! I think I’m finally getting the hang of it!!!
Baking for Japan

Last week, the Asian Student Association at my school was having a bake sale to raise money for Japan and I was asked to bake cookies and cupcakes for the event. The bake sale was a success! They sold everything they had and raised almost $300 :).

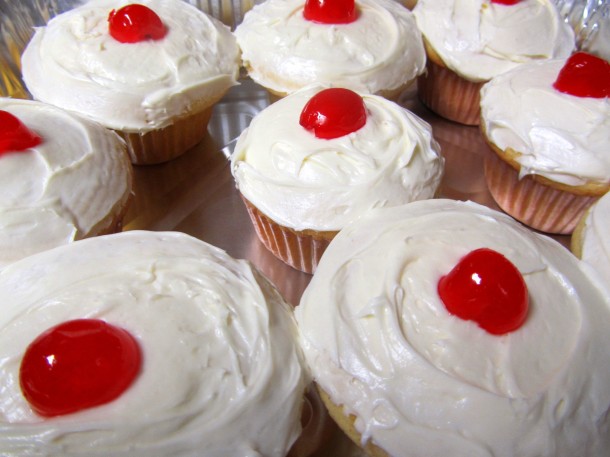
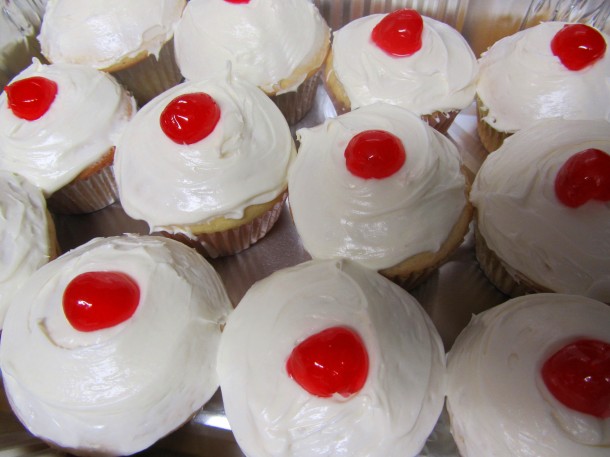
For the cookies, I used Martha Stewart’s Ideal Sugar Cookies with Royal Icing recipe and I used a square and heart-shaped fondant cutters to cut out the cookies with. For the cupcakes, my original idea was to bake vanilla cupcakes with vanilla frosting and dye some of the frosting red to add to the top of the cupcake (to look like Japan’s flag). But unfortunately the cupcakes were a bit last minute and CVS didn’t have food coloring (who would have thought?!) so I ended up buying cherries which I cut in half and placed on top of the cupcake.

Ideal Sugar Cookies

Martha Stewart

  • 2 cups all-purpose flour
  • 1/4 teaspoon salt
  • 1/2 teaspoon baking powder
  • 1/2 cup (1 stick) unsalted butter
  • 1 cup sugar
  • 1 large egg, lightly beaten
  • 2 tablespoons brandy, or milk
  • 1/2 teaspoon pure vanilla extract

Royal Icing (Doubled)

All Recipes

  • 3 cups confectioners’ sugar
  • 1/4 teaspoon cream of tartar
  • 2 egg whites, beaten
  • 1 bottle red food coloring
  1. In a bowl, sift together confectioners’ sugar and cream of tartar. Using electric mixer, beat in 2 beaten egg whites for about 5 minutes or until mixture is thick enough to hold its shape
  2. Set aside half of the icing and mix with the food coloring until bright red. Use this for the dot on the flag cookies and the icing for the heart cookies

Vanilla Cupcakes (Quadrupled)

Adapted from Joy of Baking

  • 1/2 cup unsalted butter, softened
  • 2/3 cup granulated sugar
  • 3 large eggs
  • 1 teaspoon vanilla
  • 1 1/2 cups all purpose flour
  • 1 1/2 teaspoons baking powder
  • 1/4 teaspoon salt
  • 2 (3.4) ounce packages instant vanilla pudding (use 1 package for each double batch)
  • 1/4 cup milk
  • 2 containers store-bought vanilla frosting
  • 1 jar cherries
  1. Preheat the oven to 350° F and line muffin cups with paper liners
  2. Whisk together flour, baking powder, salt, and pudding mix in a small bowl. Set aside
  3. In the bowl of electric mixer, beat the butter and sugar until light and fluffy. Add the eggs one at a time and beat well after each addition. Beat in vanilla
  4. With mixer on low speed, alternately add the flour mixture and milk in three additions, beginning and ending with the dry ingredients
  5. Bake for 17-20 minutes and cool on wire rack

Cupcakes!

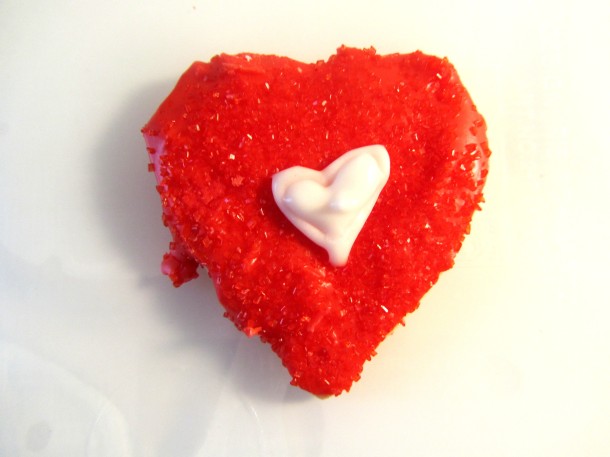
The heart cookies. Obviously made with the heart fondant cutter
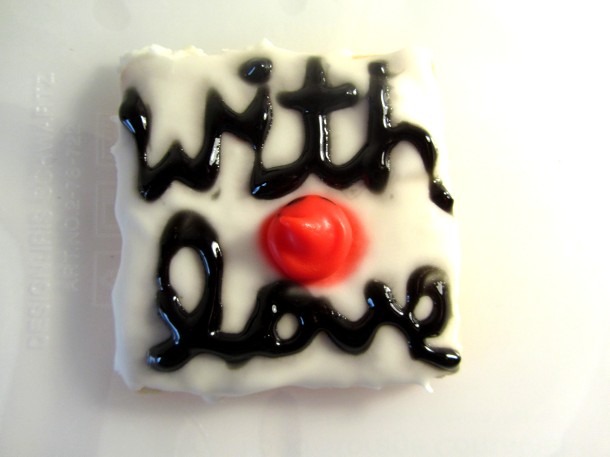
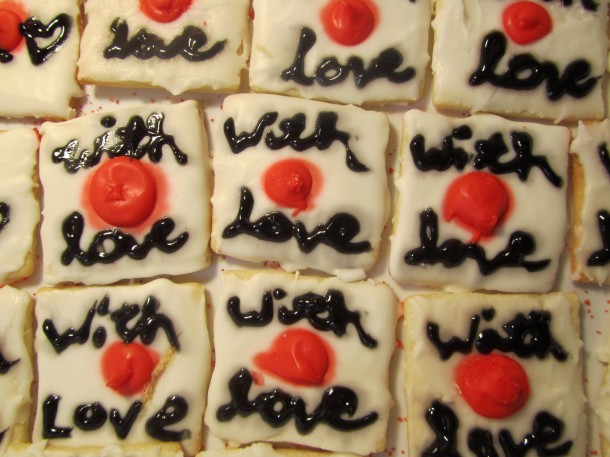
The “with love” cookies, made with the square fondant cutter and black icing
Milky Way Cookies

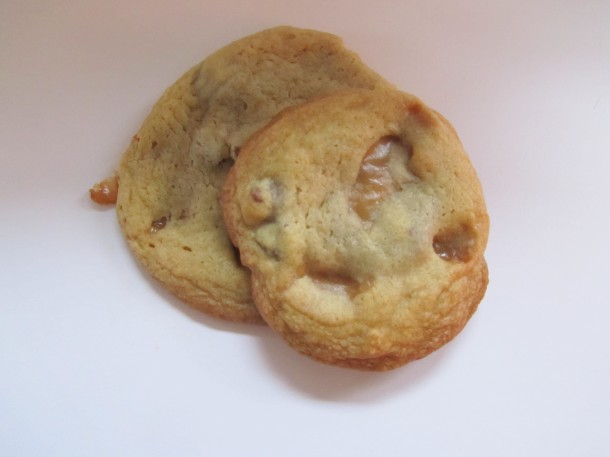
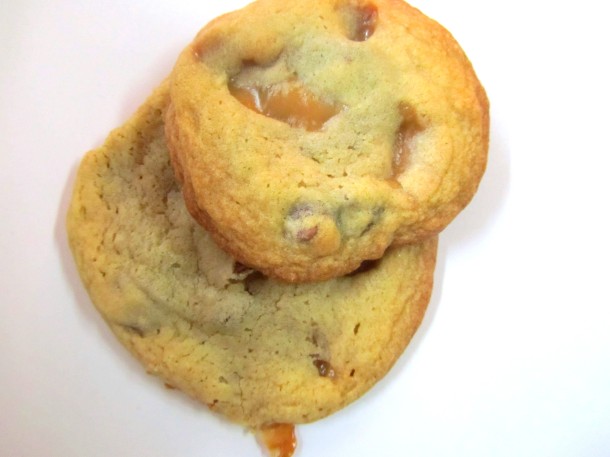
This weekend was candy-themed for some reason…I just really felt like baking with candy I guess. It was also an effort to empty some things out of my pantry that I bought for another purpose but never got around to, such as a bag of fun size milky ways and a bag of caramels.

Milky Way Cookies

Adapted from All Recipes

  • 2 1/4 cups all purpose flour
  • 1 teaspoon baking soda
  • 1 cup butter, softened
  • 3/4 cup brown sugar
  • 1/4 cup granulated sugar
  • 2 eggs
  • 1 teaspoon vanilla
  • 12 caramels, chopped
  • 8 ounces milk chocolate chips
  • 1 bag fun size milky ways
  1. Preheat over to 350° F. Line baking sheets with parchment paper
  2. In a small bowl, whisk together the flour and baking soda. Set aside
  3. Cream butter, both sugars, and vanilla until light and fluffy. Beat in the eggs
  4. Slowly beat in the flour mixture
  5. Mix in the chopped caramels and chocolate chips
  6. Gather dough and wrap around a milky way. Repeat until all the milky ways are gone
  7. Bake for 10-12 minutes. Cool on cooling racks

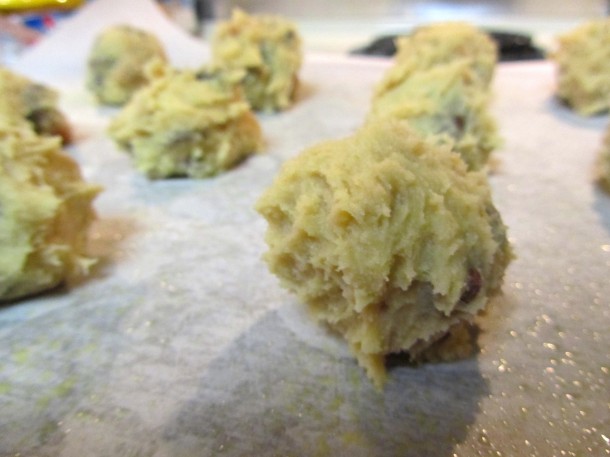
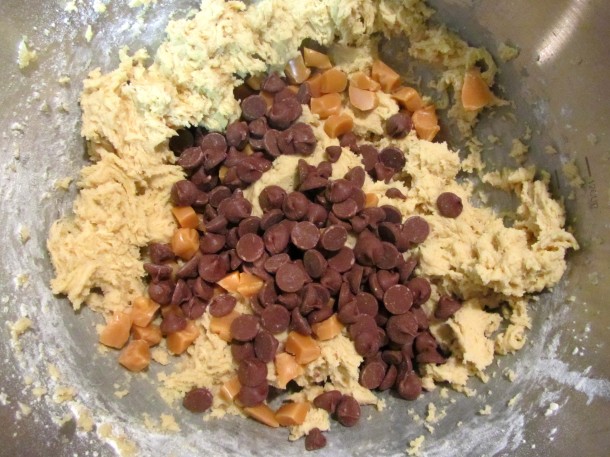
Close-up of the batter

Pre-baked

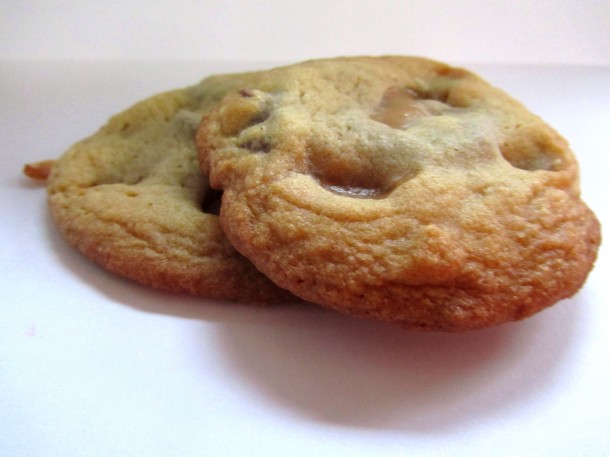
Post-baked

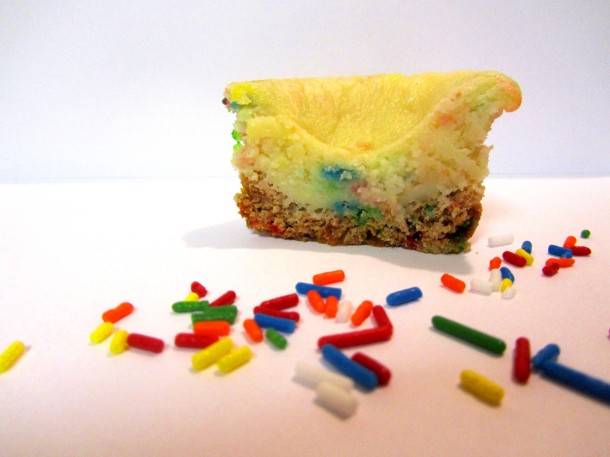
Mini Funfetti Cheesecakes

I put my mini cheesecake pan to good use again with these mini funfetti cheesecakes! However, this recipe always tends to sink on me as they’re cooling so it was hard to take them perfectly out of the pan. My best friend Sarah also got me another mini cheesecake pan for my birthday (YAY!) but unfortunately, I didn’t have it at the time I made these. So instead of waiting for the first batch to completely cool, I just baked the remaining batter in a regular muffin tin.

Mini Funfetti Cheesecakes

Adapted from King Arthur Flour

Crust

  • 1 box Funfetti Cake Mix, one cup removed and reserved
  • 1 sleeve graham crackers, finely crushed
  • 1 egg
  • 3 tablespoons vegetable oil
  • 3 tablespoons water
  • 3 tablespoons rainbow sprinkles

Filling

  • 1 cup reserved cake mix
  • 2 (8 ounce) packages cream cheese, room temperature
  • 1/2 cup granulated sugar
  • 3 eggs
  • 1 1/2 cups milk
  • 3 teaspoons vanilla extract
  • 3 tablespoons rainbow sprinkles
  1. Preheat oven to 300 degrees. For the crust place the vanilla wafers in a food processor. Pulse to fine crumbs. Add cake mix (minus one cup dry mix), 3 tablespoons of vegetable oil, 3 tablespoons of water, sprinkles, and one egg and blend on low speed until the mixture holds together when squeezed
  2. Divide the crust mixture evenly into 24 greased or paper lined muffin tins or a mini cheesecake pan. Press the mixture evenly into the bottoms, and about 1/4 inch up the sides of the muffin wells. Set aside
  3. In a mixing bowl, place the reserved one cup of mix, the cream cheese, 1/2 cup sugar and 3 eggs. Beat on medium low speed for one minute, until creamy
  4. Mix in the milk. Add the vanilla extract and blend until smooth. Avoid overbeating, this can cause your cheesecakes to sink in the center
  5. Divide the batter evenly into the prepared muffin tins
  6. Bake at 300 degrees for 20-25 minutes, or until the centers are just set. Turn off the oven, and prop the door open with an oven mitt or pot holder. Let the cakes cool in the oven for 30 minutes
  7. Carefully remove the cakes from the pans. Refrigerate 3-4 hours or until well chilled

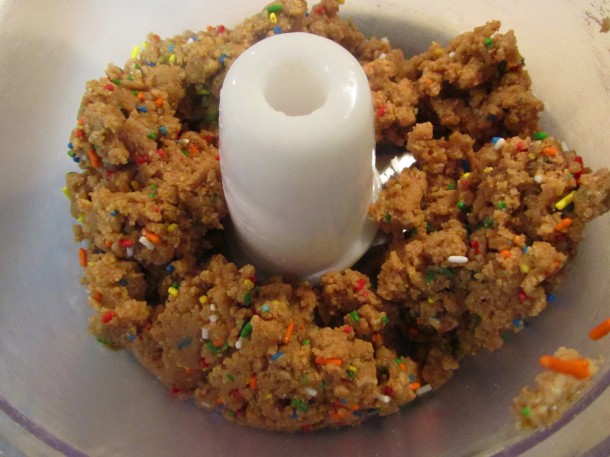
This food processor literally is my life
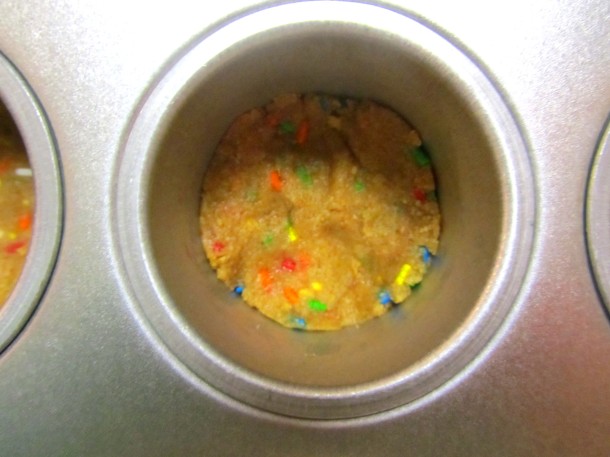
Close-up of the crust

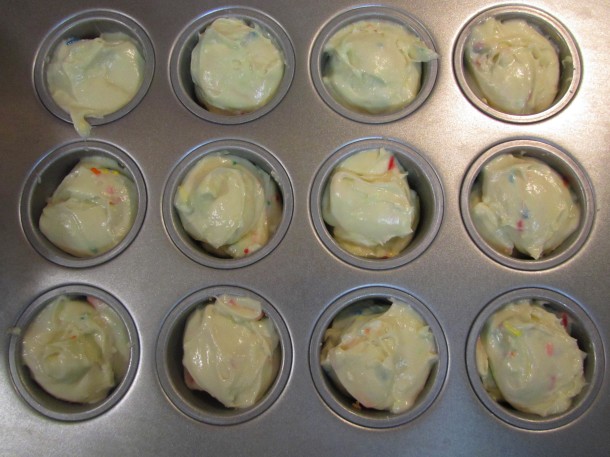
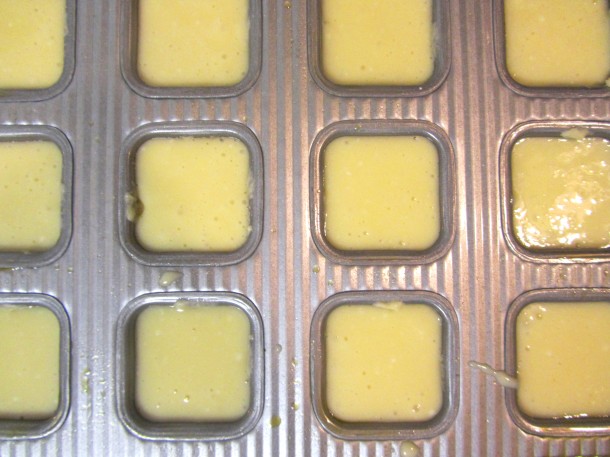
Pre-baked

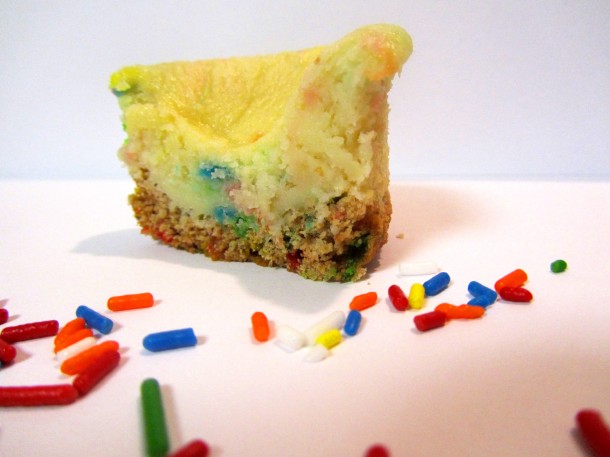
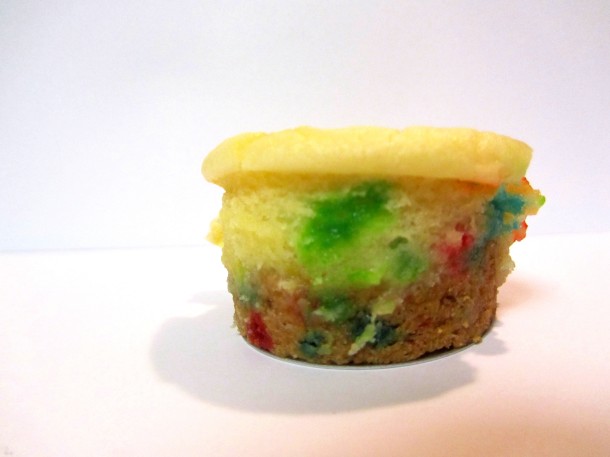
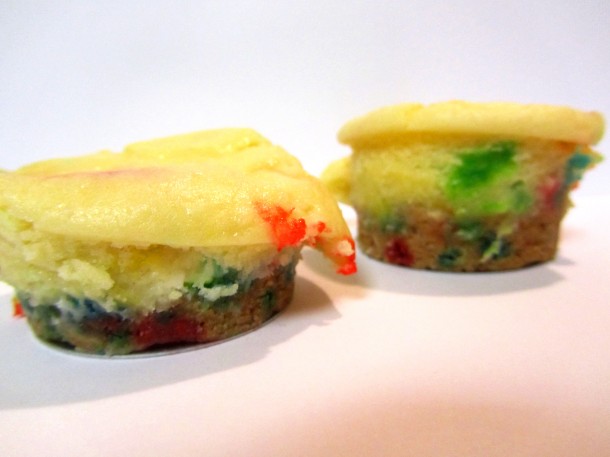
Post-baked (mini version, of course)

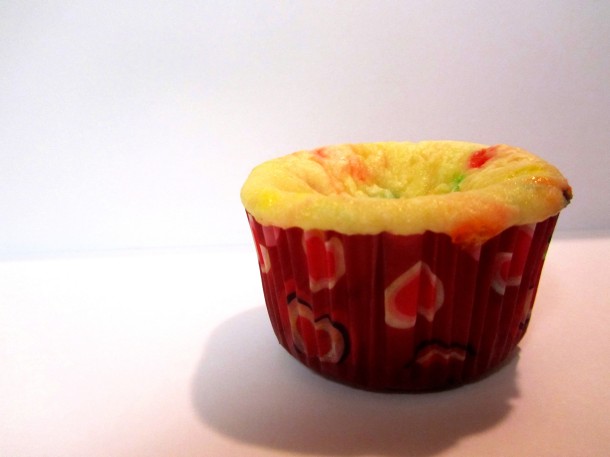
Post-baked (regular size version)

Stir Fry Honey Garlic Chicken

The first time I made this, I didn’t really get a strong flavor of honey but the garlic was clearly there. I adjusted the ingredients to include 1/4 cup of honey rather than the 2 tablespoons I used so hopefully the flavor will be more prominent, but I’ve yet to test it again.

Stir Fry Honey Garlic Chicken

Chicken

  • 2 pounds chicken breasts, cut into bite-sized pieces
  • 1 egg
  • 1/2 teaspoon salt
  • 1/4 teaspoon pepper
  • 1/2 cup cornstarch
  • 1/4 cup all-purpose flour
  • oil for frying, enough to fill a pot or wok with 1 inch of oil (I used peanut)

Sauce

Adapted from Food Gal

  • 3 cloves garlic, minced
  • 1/4 teaspoon ground ginger
  • 2 tablespoons brown sugar
  • 1/2 teaspoon salt
  • 1/2 teaspoon white pepper
  • 1/4 cup honey
  • 2 teaspoons soy sauce
  • 1 tablespoon oyster sauce
  • 1/4 cup water plus 1 tablespoon corn starch
  1. Rub salt and pepper into chicken pieces
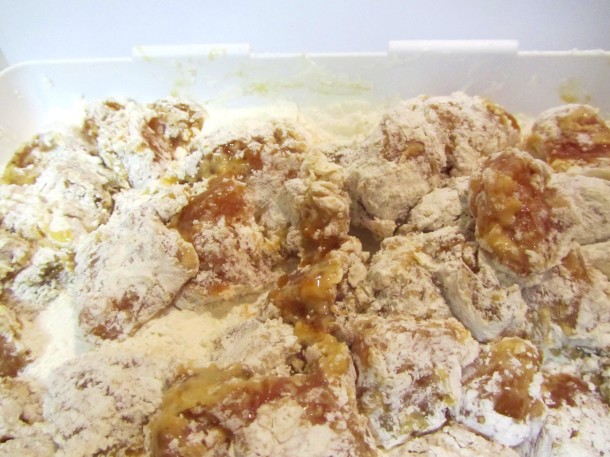
  2. Toss your cut-up chicken with the egg, then with the flour and cornstarch. It will be sticky. Set aside
  3. Heat 1-inch of oil in your frying vessel and allow to heat up, never allowing the temperature to rise above 375° F or to start simmering or boiling. The oil should look like it is heating up (it will move around slightly), but you never want to see any bubbles forming until you have added in the chicken
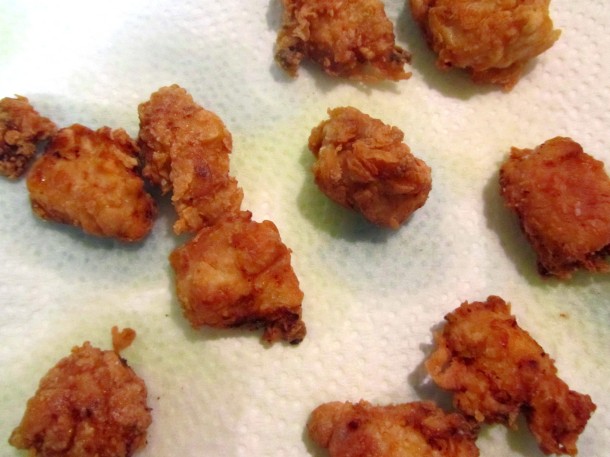
  4. Fry the chicken in batches, 8-10 minutes for each batch, until golden and crispy. Check a piece or two to be sure that it’s cooked through, but also to be sure that it’s crispy enough
  5. With a slotted spoon, remove the chicken to a cutting board or a plate lined with paper towels and drain. Do this until all of the chicken has been fried; don’t overcrowd the pot, either. It doesn’t matter how many batches you have to do, as the chicken will be warmed again when it is added to the sauce. Be careful when disposing of the oil (allow it to cool completely first)
  6. Saute your garlic with about a tablespoon of oil for five minutes or so, until softened
  7. Add in the rest of the combined sauce ingredients and stir over medium heat until slightly thickened, then add in the water and cornstarch mixture
  8. Stir until thickened, and be careful not to burn it! This shouldn’t take more than 8 minutes or so
  9. Add in the fried chicken pieces and stir until well coated

Here is the chicken tossed with the cornstarch
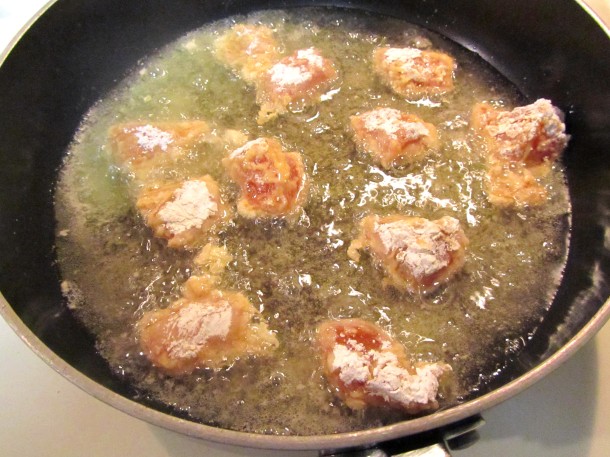
Frying the chicken!

I made sure my chicken got really crispy 🙂

Here’s the chicken mixed in with the sauce

And the final product, of course made with garlic noodles on the side for Kamil
Mini White Chocolate Butter Bars

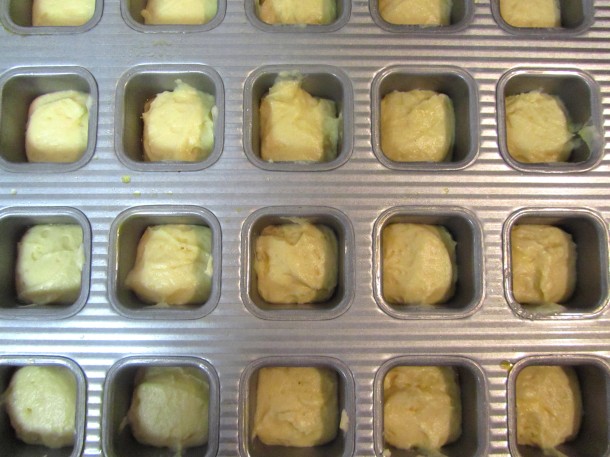
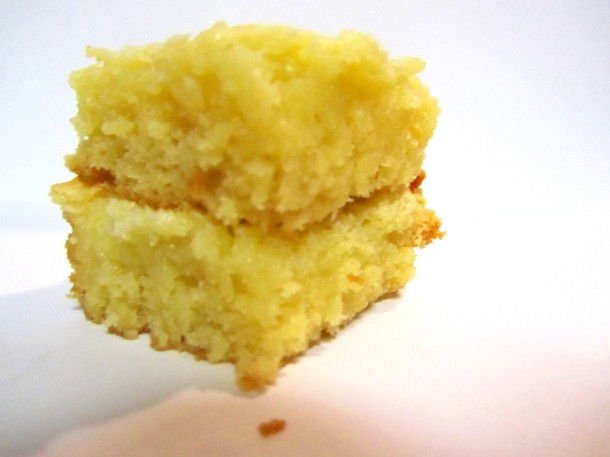
Warning: these bars are extremely gooey bars. For the first batch, I attempted to bake them in my mini brownie pan but unfortunately they ended up falling apart when I tried pulling them out. The taste was still great, however and though not completely intact, they were perfectly snackable. Yes, I just made up a word. Anyway, the second time around, I just made the rest of the batter in a 9×9″ pan and they came out fine.

White Chocolate Butter Bars

Adapted from Godiva

Butter Cake

  • 1 1/2 cups all-purpose flour
  • 1 1/2 teaspoons baking powder
  • 1/2 teaspoon salt
  • 1 (3.4 oz) package white chocolate instant pudding
  • 12 tablespoons (1 1/2 sticks) butter, softened
  • 3/4 cup granulated sugar
  • 2 large eggs, at room temperature
  • 1  1/4 teaspoons vanilla extract
  • 1/2 cup milk

Topping

  • 1 package (8 ounces) cream cheese, softened
  • 2 large eggs, at room temperature
  • 3 1/2 cups confectioners’ sugar, sifted, divided
  • 2 teaspoons pure vanilla extract
  • 2 bars (1.5 ounces each) Godiva Solid Ivory, melted
  1. Preheat oven to 325°F. Spray mini brownie pan with nonstick cooking spray. Set aside
  2. Sift together flour, baking powder, instant pudding, and salt. Set aside
  3. Cream butter and sugar in mixing bowl at medium speed until light and fluffy, about 3 minutes, using electric mixer. Add eggs, one at a time, beating well after each addition. Lower the speed and add vanilla. Add flour mixture alternately with milk, blending until the batter is smooth (do not overmix). Pour batter into prepared pan and spread evenly
  4. Beat cream cheese, eggs, 3 cups of the confectioners’ sugar, almond and vanilla extracts at low speed. Beat until smooth. Increase the speed to high and beat for 3 minutes. Reduce the speed to low and add the remaining confectioners’ sugar. Beat until smooth. Pour over batter and bake for 20 minutes or until the top is lightly browned all over. Cool in pan on wire rack for 30 minutes
  5. Drizzle the top decoratively with melted solid ivory

This is a close-up of just the batter

Then with the topping on top

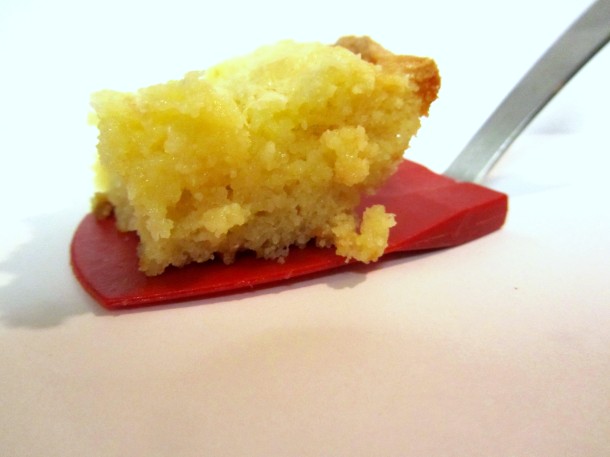
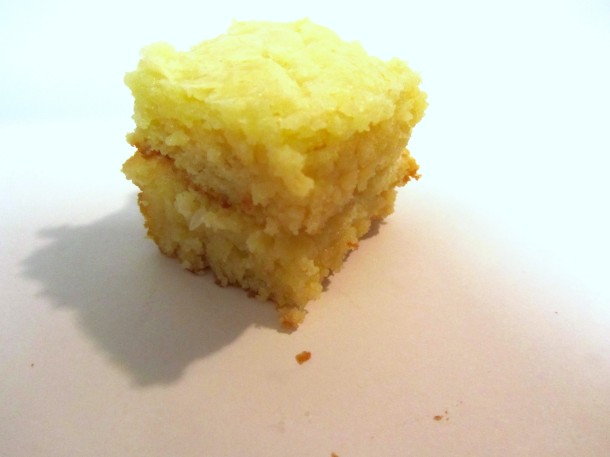
And the final product :). These are not the ones that came out of the mini brownie pan, which explains why they look so presentable here
Boston Cream Pie Petit Fours

This recipe is so intricate that it literally took me all day to accomplish, but I say it was well worth it. What I did was I baked a sponge sheet cake and using a square fondant cutter, I cut out a bunch of little squares. I made a custard as well and once it was chilled enough, I made sandwiches with the cute out squares and the custard and finally soaked them in a chocolate ganache to make little Boston Cream Pies!


Boston Cream Pie Petit Fours

Sponge Cake

Martha Stewart

  • Unsalted butter, for pans
  • 3/4 cup all-purpose flour, plus more for pans
  • 3/4 cup corn starch
  • 6 large eggs, separated
  • 1 1/2 teaspoons vanilla extract
  • 3/4 cup plus 6 tablespoons granulated sugar
  • 1/4 teaspoon salt

Vanilla Custard

Elinor Klivans

  • 1 cup whole milk
  • 3 large egg yolks
  • 1/3 cup granulated sugar
  • 4 teaspoons corn starch
  • 2 tablespoons unsalted butter, at room temperature
  • 1 teaspoon vanilla extract

Chocolate Glaze

Elinor Klivans

  • 1/3 cup heavy cream
  • 4 tablespoons unsalted butter, cut into 1/2 inch cubes
  • 3 tablespoons light corn syrup
  • 4 ounces semi-sweet chocolate, finely chopped
  • 1 teaspoon vanilla extract
  1. In a saucepan over medium heat, warm the milk until small bubbles appear around the edges of the pan. Remove from the heat
  2. In a heatproof bowl, combine the egg yolks, sugar, and cornstarch and whisk until smooth. Slowly whisk in the hot milk until thoroughly blended
  3. Return the egg-yolk mixture to the saucepan and place over medium heat. Cook, whisking constantly, until the mixture comes to a boil and thickens, about 3 minutes. Continue cooking, stirring constantly for 1 minute longer to cook completely
  4. Pour the custard through a fine-mesh sieve into a clean bowl. Stir in the butter and vanilla
  5. Press a piece of plastic wrap directly onto the surface of the custard to prevent a skin from forming and poke a few holes in the plastic with the tip of a sharp knife to allow steam to escape. Refrigerate until well chilled, at least 2 hours or overnight
  6. Preheat the oven to 350° F. Butter the bottom and sides of an 11-by-17-inch rimmed baking sheet and a 9×9″ square baking pan. Line the bottom of each pan with parchment paper, and butter again. Flour the pans, and set aside
  7. In a small bowl, sift together the flour and cornstarch; set aside
  8. In the bowl of an electric mixer fitted with the whisk attachment, beat egg yolks, vanilla, and 3/4 cup sugar on high until thick and pale, about 3 minutes. Transfer egg-yolk mixture to a large bowl. Wash and dry the mixer bowl and the whisk attachment
  9. Combine the egg whites and salt in the mixer bowl, and beat on medium speed until soft peaks form, about 1 1/2 minutes. With the mixer running, slowly add the remaining 6 tablespoons sugar. Continue beating until stiff and glossy, about 1 minute
  10. Fold the egg-white mixture into the egg-yolk mixture. In three additions, fold the reserved flour mixture into the egg mixture. Transfer two-thirds of the batter to the baking sheet, and smooth the top with an offset spatula. Transfer remaining batter to the 9×9″ pan; smooth the top with the spatula. Bake until light golden brown and a cake tester inserted into the center comes out clean, about 20 minutes. Transfer the pans to wire racks to cool; turn out the cakes, remove the parchment paper, wrap in plastic wrap, and freeze until ready to use
  11. In a saucepan over medium heat, combine the heavy cream, butter, and corn syrup and cook, stirring, until the butter melts and the mixture is hot but not boiling. Remove the pan from the heat and add the chocolate
  12. Let stand for about 30 seconds, then stir until the chocolate is completely melted and the glaze is smooth. Stir in the vanilla

Assembly

  1. After a few hours, remove cakes from freezer. Run a knife under hot water and slice the 9×9″ cake in half horizontally. Spread cake and cake halves out. Using a square fondant cutter, cut out as many cake squares as you possibly can (save scraps for snacking!)
  2. Remove custard from the fridge. Take one cake square and “frost” the top of it with the custard. Stack another cake square on top and repeat again with the custard. Stack a third cake square on top of that custard layer and set aside. Repeat with remaining cake squares
  3. Place all cake squares on rimmed baking sheet and spread enough of the chocolate ganache over each stack to fully coat it. Place the baking sheet in the fridge and allow the chocolate to firm up. Then enjoy!

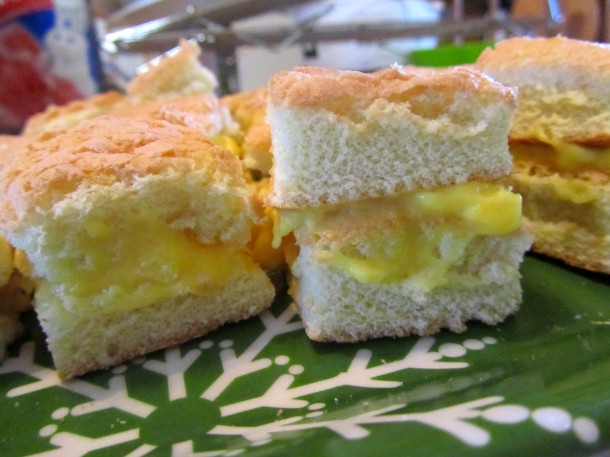
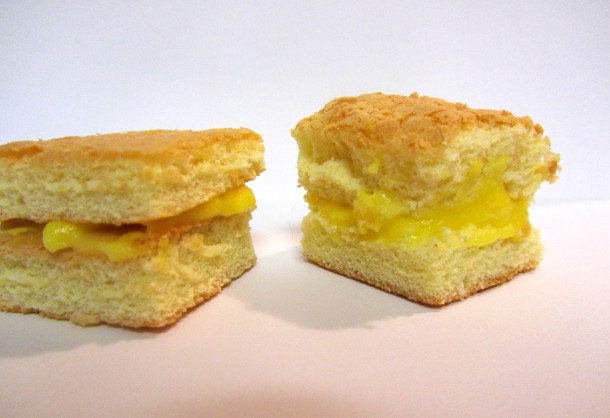
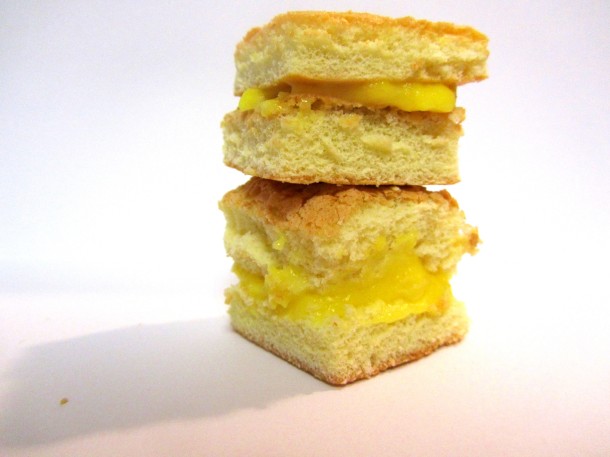
Here are just the plain sponge cake and custard sandwiches
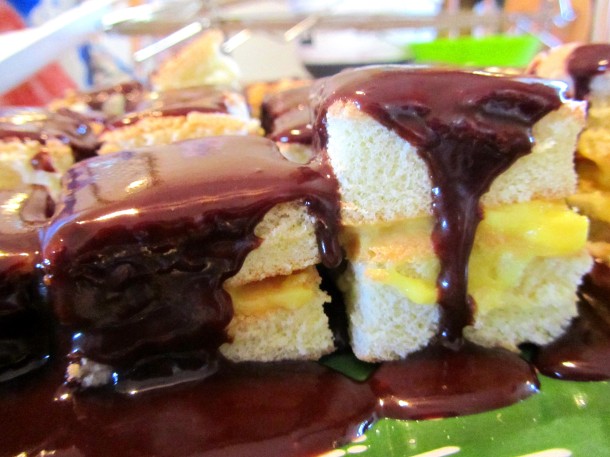
Adding on that ganache

I was worried they would get too soggy if I made sure every single piece of the cake was covered
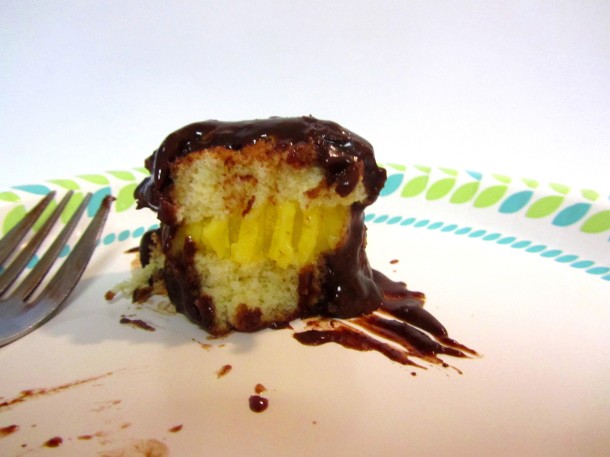
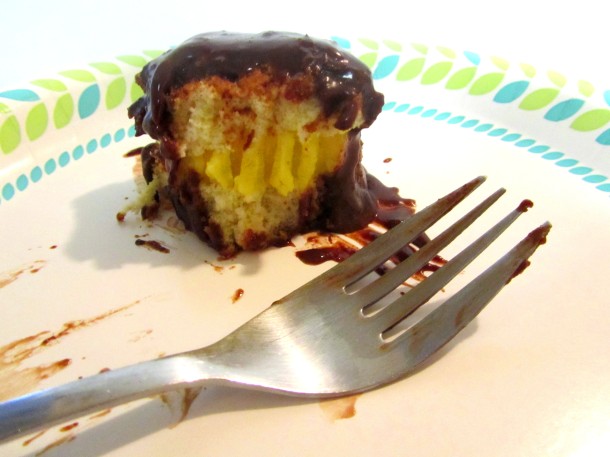
The finished product!